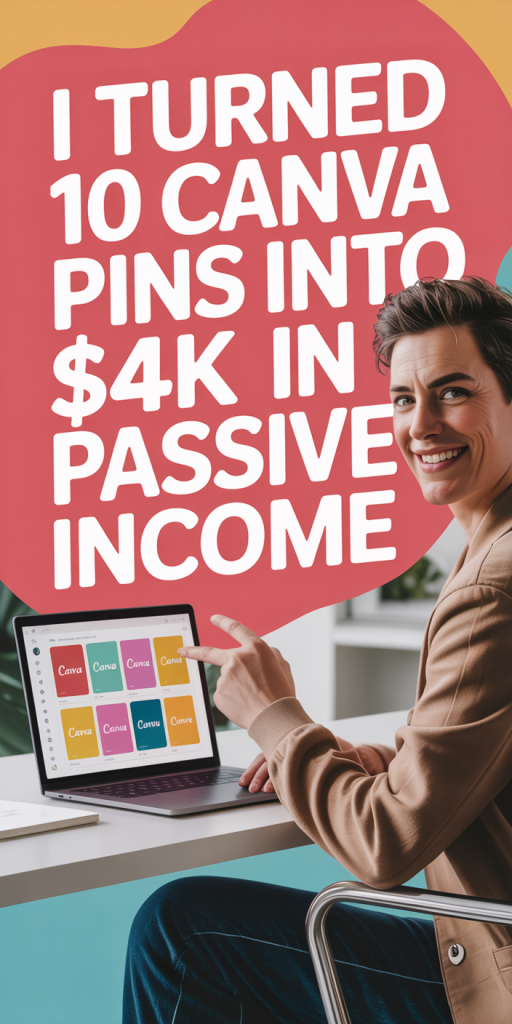
We didn’t start with a massive ad budget or a viral strategy. We began with ten Canva pins, a clear offer, and a willingness to test. Over roughly four months those pins drove consistent Pinterest traffic, which we funneled into a simple funnel, and the result was $4,118 in largely passive revenue. In this post we’ll show the timeline, exact breakdown, design and publishing tactics we used, how we tracked and scaled, and a 30-day action checklist you can follow to replicate the process.
Quick Results Snapshot
Timeline And Traffic
We launched our first set of 10 pins across two weeks and started seeing meaningful data within the first 10–14 days. By month four the pins accumulated ~72,000 impressions and ~1,800 outbound clicks to our landing pages and product pages. Traffic ramped steadily rather than spiking and dying, that slow, sustained stream is what made the income largely passive.
A quick note: our CTR hovered around 2–3% initially, then we improved it with A/B headline tests (more on that later) to roughly 3.6% for the best-performing pins.
Revenue Breakdown By Source
Total revenue: $4,118 (over ~4 months)
- Digital templates / direct product sales: $2,100, these were simple Canva templates and low-priced downloads sold via our shop.
- Affiliate sales (tools and courses relevant to our niche): $1,500, mostly single-click purchases after readers hit our recommendation pages.
- Email-funnel upsells and one-off coaching calls booked via the list: $518.
Why this mix matters: the direct product gave good gross margin, affiliates provided fast payouts, and the email funnel helped lift average order value. The diversified mix made the income resilient.
My Strategy: Niche, Offer, And Pin Concepts
Choosing The Niche And Audience
We picked a narrow niche where we already had subject-matter credibility: small-business owners who need quick, editable design assets. Narrow beats broad here, it lets each pin speak directly to a pain point (“social media templates that save 4 hours”) and reduces wasted clicks. We profiled our ideal user (age range, business type, common frustrations) and wrote pin copy to that persona.
Matching Pins To An Offer And Conversion Path
Each pin mapped to a single conversion path: pin → landing page or product page → email capture (or direct checkout). Some pins promoted a free template to capture emails: others pointed straight to a low-ticket product. That mix lets us capture leads while still making direct sales. The rule we followed: one pin, one goal, clarity increases conversions.
Designing High-Converting Pins In Canva
Pin Templates, Layouts, And Visual Hierarchy
We built a small library of 5 reusable pin templates in Canva. Consistent brand colors and a clear visual hierarchy were key: large, readable headline at the top, a supporting subhead, a recognizable logo/brand tag, and a contrasting focal image. Reusing templates saved time and kept a cohesive feed that builds trust.
A quick anecdote: the very first pin had a headline split awkwardly across lines, that taught us to preview pins at mobile widths before publishing.
Headlines, CTAs, And Microcopy
We tested benefit-driven headlines (“Save 4 Hours with These Instagram Templates”) vs. curiosity ones (“What Freelancers Do Wrong in Their Social Posts”). Benefit headlines won for conversion: curiosity headlines drove clicks but not always purchases. CTAs were short and action-focused: “Get Template,” “Download Now,” “See Examples.” Microcopy under the CTA nudged urgency or value (“instant download,” “editable in Canva”).
Export Settings, Variants, And Mobile Optimization
Pinterest favors tall pins with a 2:3 ratio, we exported at 1000 x 1500 px, PNG for text-heavy images, and checked how the pin cropped on mobile. We created 2–3 image variants for each headline (different photos, color overlays) and uploaded all variants to test which visual hook worked best. Mobile optimization meant keeping critical text and CTAs in the top two-thirds so they weren’t cropped on smaller screens.
Publishing, Pinterest SEO, And Distribution
Titles, Descriptions, And Keywords
We treated pin titles and descriptions like micro-blog posts. Titles included a keyword phrase and a clear benefit. Descriptions gave context, included 3–5 relevant keywords naturally, and ended with a CTA and a link. We also used UTM parameters to trace which pin sent the converting traffic.
Board Strategy, Scheduling, And Repinning Tactics
We pinned to 3–4 highly relevant boards first, then to a few niche group boards. Scheduling mattered: we used an automated scheduler (Tailwind-style approach) to spread pins over weeks instead of dropping them all at once. We repinned high-performers to additional boards and created slight image variants rather than duplicating the exact same pin, that kept Pinterest’s algorithm happier and helped avoid content fatigue.
Monetization, Tracking, And Scaling
Revenue Streams Used (Affiliate, Products, Email)
We leaned on three streams: low-ticket templates (best margin), affiliate partnerships (easy to scale), and our email funnel (highest LTV). For affiliates we promoted products we actually used and provided honest mini-reviews, that trust converted better than generic affiliate links.
Key Metrics, Tools, And A/B Testing
We tracked impressions, clicks, CTR, landing-page conversion rate, email open rate, and purchase rate. Tools we used: Canva (design), Pinterest Analytics, Google Analytics (UTMs), a link shortener for testing, and ConvertKit/Gumroad for emails and sales. A simple A/B test, swapping a headline and an image, increased CTR by ~45% on our best pin, and that single improvement added several hundred dollars.
When And How I Scaled From 10 Pins
After month two we reinvested profits to create 20 more pins (variants and new angles). We also tried one small promoted pin campaign to kickstart a new template and to get fresh impressions. Scaling was pragmatic: double down on highest-ROI pins, retire the duds, and keep variant testing ongoing.
Lessons Learned, Common Pitfalls, And Quick Action Plan
What Worked Best And What To Avoid
What worked best:
- Narrow niche + specific benefit headlines.
- A/B testing headlines and imagery.
- Clear funnel: pin → value page → email capture/product.
- Reusable templates for speed and consistency.
What to avoid:
- Generic, vague pins that try to serve everyone.
- Neglecting mobile crop previews (we lost clicks to poor cropping).
- Not tracking UTM params, if you can’t attribute traffic, you can’t optimize.
30-Day Action Checklist For Readers
Week 1
- Pick a narrow niche and define your offer.
- Sketch 5 headline ideas and 5 pain points.
Week 2
- Design 10 pin templates in Canva (2 variants per headline).
- Create or optimize one landing page with a clear CTA.
Week 3
- Publish and schedule pins across 3–4 boards: add keywords and descriptions.
- Set up UTM tracking and basic analytics.
Week 4
- Run A/B tests on headline + image for the top 3 pins.
- Start an email sequence for captured leads and track early conversions.
Repeat: double down on winners and create new variants monthly.
Conclusion
Turning 10 Canva pins into $4,118 wasn’t magic, it was predictable work: pick a tight niche, design clear pins, map each pin to a single conversion path, track, and iterate. The biggest advantage of this approach is its compounding nature: pins keep earning after the initial work is done. If we had one piece of advice, it’s this: treat pins as landing-page previews, make the promise clear, deliver value fast, and measure everything. Follow the 30-day checklist and you’ll have a reproducible system for building passive Pinterest income.