Meal prep can feel overwhelming at first, but with a simple plan and a few reliable recipes, you can save hours each week, reduce stress around dinnertime, and feed your family healthier meals. This beginner-friendly guide will walk you through planning, shopping, batch-cooking, storing, and reheating a week’s worth of meals, with realistic tips tailored for busy stay-at-home moms.
Why meal prepping works for a week
Meal prepping takes the daily decision fatigue out of cooking. When you plan once and cook smart, you:
– Save time (fewer nightly cooks and shorter cleanup)
– Cut food waste and grocery costs
– Keep meals consistent and healthier
– Reduce stress around picky eaters
Plan to spend 2–4 hours on a single prep day (often Sunday) to cover breakfasts, lunches, dinners, and a couple of snacks.
Step 1 — Plan your week (30–45 minutes)
- Pick 3–4 dinners to rotate through the week (simple, family-friendly recipes).
- Choose breakfasts and lunches that are easy to portion (overnight oats, egg muffins, grain bowls).
- Add 2–3 healthy snacks (cut veggies, yogurt cups, trail mix).
- Check your calendar for nights you’ll eat out or have activities and adjust portions.
Practical tip: Use a paper meal planner or a short note on your phone listing breakfasts, lunches, dinners, and snacks so you buy only what you need.
Step 2 — Smart grocery shopping (45–60 minutes)
- Make a categorized list (produce, proteins, grains, dairy, pantry).
- Buy versatile ingredients (chicken, canned beans, rice, frozen veggies).
- Shop for items that store and reheat well (root veggies, hearty greens, eggs).
How to shop faster:
– Group items by store section.
– Buy pre-washed salad greens only if you won’t mind the extra cost—washing once at home often saves money.
– Stick to the list to avoid impulse buys.
Step 3 — Batch cooking strategies (2–3 hours)
Choose one method that fits your kitchen and schedule:
- One-pot or sheet-pan cooking: Roast multiple trays (protein + veggies) at once.
- Stove-top batch: Brown a large pot of ground meat or beans and split into meals.
- Slow cooker / Instant Pot: Make a big batch of chili, stew, or shredded meat.
Practical steps for the cook day:
1. Preheat oven, lay out containers, and set timers.
2. Start items with the longest cook time (roast root veggies, cook grains).
3. While those cook, prep proteins and quick-cook veggies.
4. Cool food safely (room temperature for no more than 2 hours) before sealing containers.
Step 4 — Storage and reheating tips
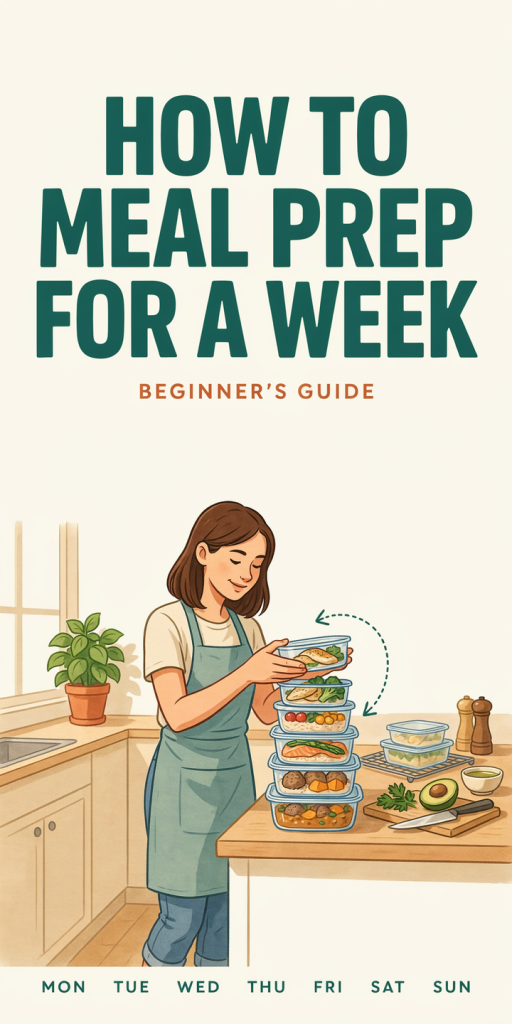
- Use airtight glass or BPA-free plastic containers (2–4 cup sizes for meals, smaller for snacks).
- Label containers with the date.
- Refrigerate meals that will be eaten within 3–4 days; freeze extras for up to 3 months.
- Reheat evenly: add a splash of water or sauce to rice/grains to prevent drying; stir halfway through microwaving.
Food safety note: Cool hot foods quickly by spreading them shallowly in containers before refrigerating.
Weeknight assembly ideas and reheats
- Grain bowl: reheat grain + protein, add fresh salad or sauce.
- Wraps: warm protein briefly, then assemble with fresh veggies.
- One-pan reheat: combine cooked components and bake at 350°F for 10–12 minutes to refresh textures.
Essential tools and approximate costs
- Good knives and cutting board — $25–$80
- Set of airtight containers (glass) — $25–$60
- Slow cooker or Instant Pot (optional) — $50–$120
- Baking sheets and roasting pans — $15–$40
Total basic setup: $65–$200 depending on what you already own.
7-day sample meal plan (simple)
- Breakfasts: Overnight oats (Mon–Thu), egg muffins (Fri–Sun)
- Lunches: Grain bowls (leftovers + fresh greens)
- Dinners: Roast chicken + veggies, turkey chili, sheet-pan salmon + broccoli, pasta with veggie sauce (rotate)
- Snacks: Apple slices + nut butter, carrot sticks, yogurt cups
Prep these on Sunday:
– Make a big pot of grains (rice/quinoa)
– Roast a sheet of mixed veggies
– Cook a protein (whole roast chicken or baked tofu)
– Portion breakfasts and snacks
Time-saving tips for busy weeks
- Double recipes and freeze portions for later weeks.
- Keep a short “go-to” list of 4 favorite recipes.
- Delegate small tasks (kids can pack snack bags or wash produce).
- Clean as you cook to make the prep day feel shorter.
Turn Meal Prep Into a side hustle
Description
If you love meal prep and have a knack for planning family-friendly menus, you can offer weekly meal-prep packages to neighbors or local families. This works well for stay-at-home moms who want extra income while using skills they already have.
Practical setup steps
1. Check local food and cottage laws for selling prepared meals from home.
2. Decide your offering (e.g., weekly family meals, frozen lunches, customized meal packs).
3. Create a simple menu rotating weekly and clear pricing.
4. Set up ordering and payment (text, email, or local group).
5. Start with friends and neighbors for feedback, then expand via local parenting groups.
Estimated startup costs
– Food ingredients for first week (variable): $50–$150
– Food-safe containers (bulk): $50–$200
– Basic labeling supplies: $10–$30
– Licensing/permits (if required locally): $0–$200+
Total estimated startup: $110–$580 depending on scale and local rules.
Keeping meal prep simple is the key: choose a handful of reliable recipes, invest in a few good containers, and treat your prep day like a short project. Once you get into a rhythm, a weekly prep session will free up time, reduce stress, and help you feed your family well with less daily effort.